POTA and a bad space weather report.

Today the sun said I should stay home, but I didn’t think to check first…

Yeah, this was the space weather report I was greeted with earlier today when I finished setting up my sBitx at Cloudland Canyon State Park. I was immediately deflated by what I saw. What was I thinking? Why didn’t I check before leaving the house? All of these questions and more came flooding into my head before I had even turned on the radio… I mean, just look at it. The K index is 7 the Sig Noise Level is an S9+! I stared in disbelief for a few more minutes it seemed like before I decided to just juice up the rig and see what I could hear…
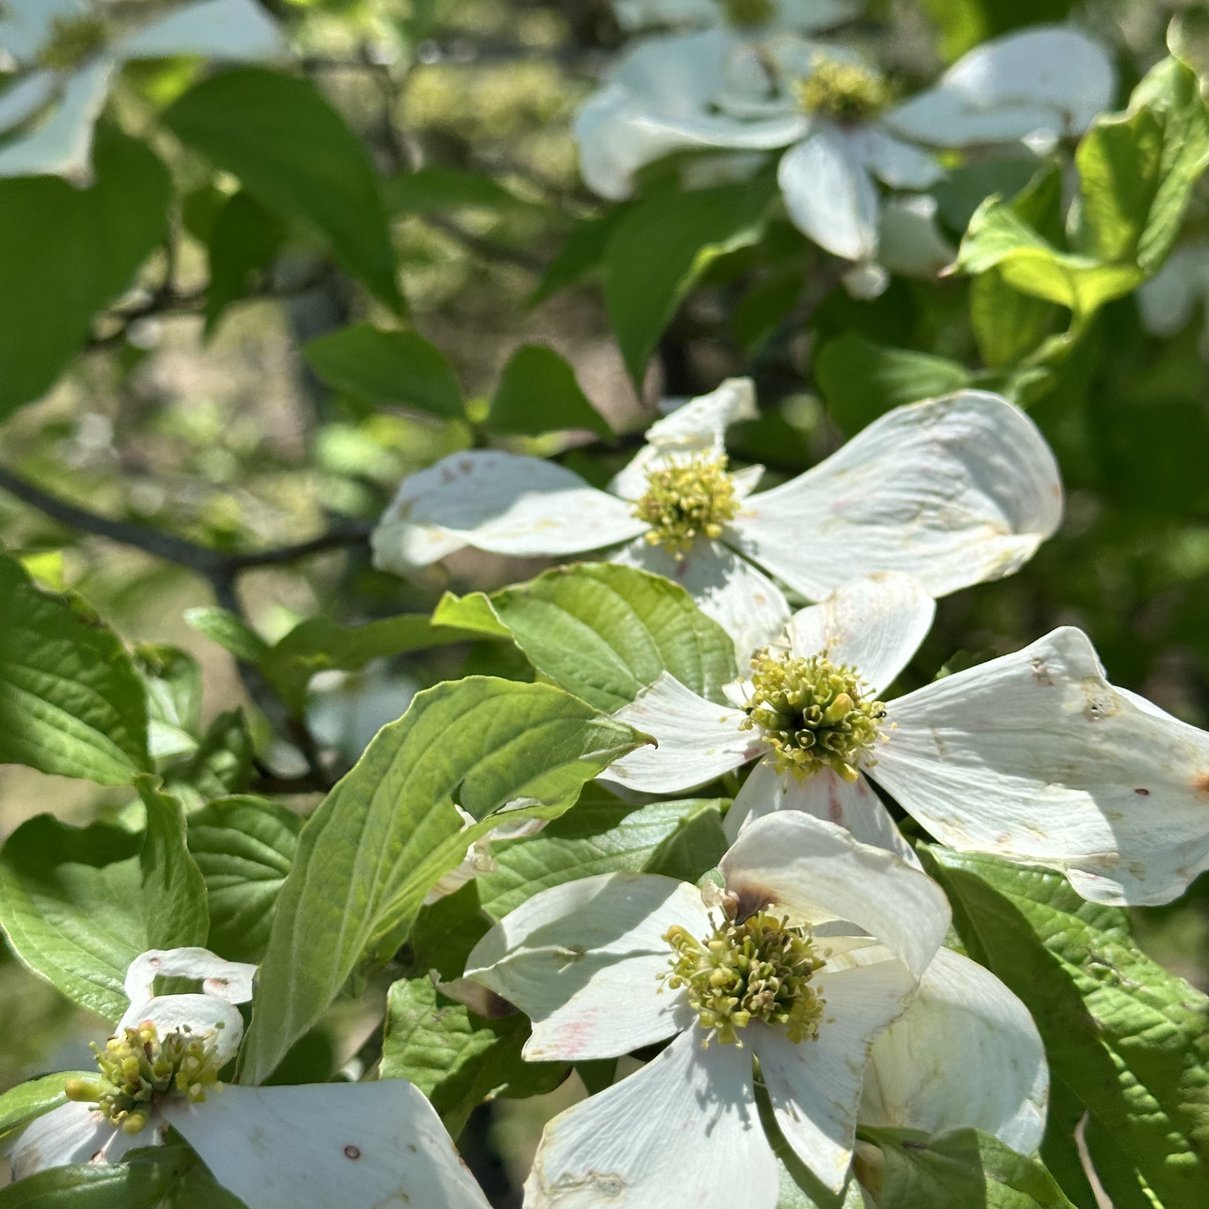
Side Quest#1: Before we get too deep into the activation, I want to take a minute to talk about the park and the time of year we are in now. Cloudland Canyon is located in the North West corner of the state of Georgia and is a gorgeous park to be honest. Today though, it was especially beautiful with all the dogwood trees blooming and all the foliage coming in turning the park green again. I really like coming to the park during the week too as it is almost vacant up where I tend to go to activate. The campground is already filling with campers at the bottom of the hill, but up here there is only the occasional person during the week.
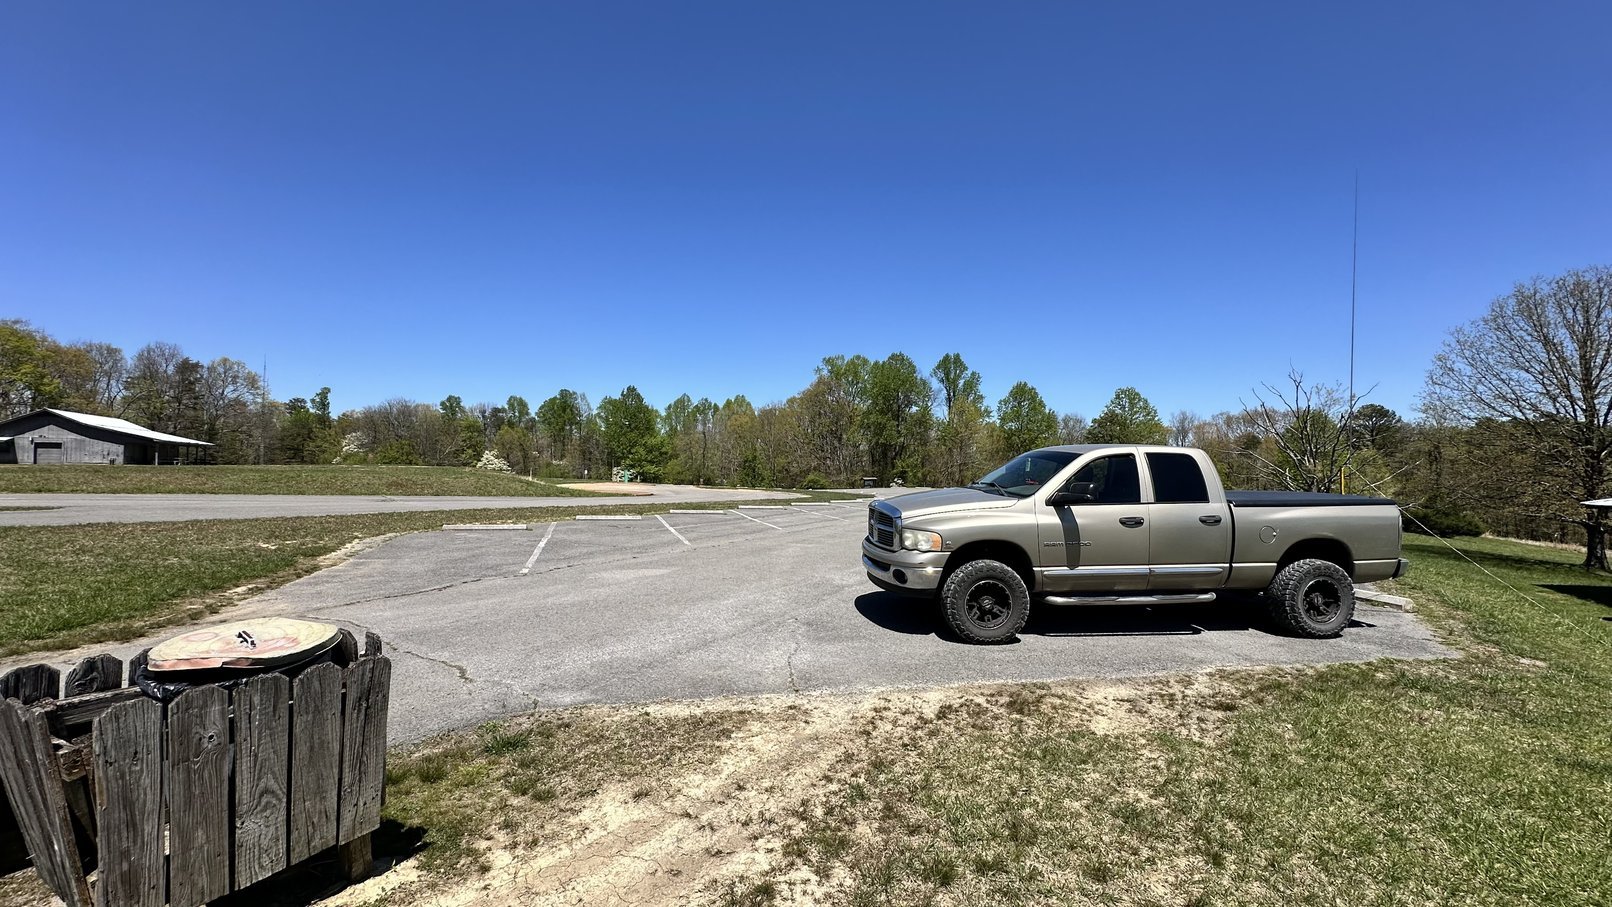
I set up on this corner of the parking lot today because when I arrived there was someone on the other spot I like to use, but just as soon as I got the antenna setup and tuned, they left… figures. LOL. Instead of moving I just used this spot, and it seemed to work fine anyway as you will soon learn. The above photo is the exact reason I keep coming here. The solitude is awesome. It also is a relatively RF “quiet” location with little to no band noise to speak of, even thought there is a radio tower just to the right of the building in the background of this photo. Finding a RF quiet area is something you will find to be special if you do much POTA. I have a few parks that are not to be returned to due to the noise from nearby infrastructure. This park on the other hand is really quiet in most places. Some noise is heard if you get near the RV park at the bottom of this ridge, but that is really about it. I will hear ignition noise as cars pass through the parking lot though, it is actually kind of neat to see which cars produce the most RF hash.
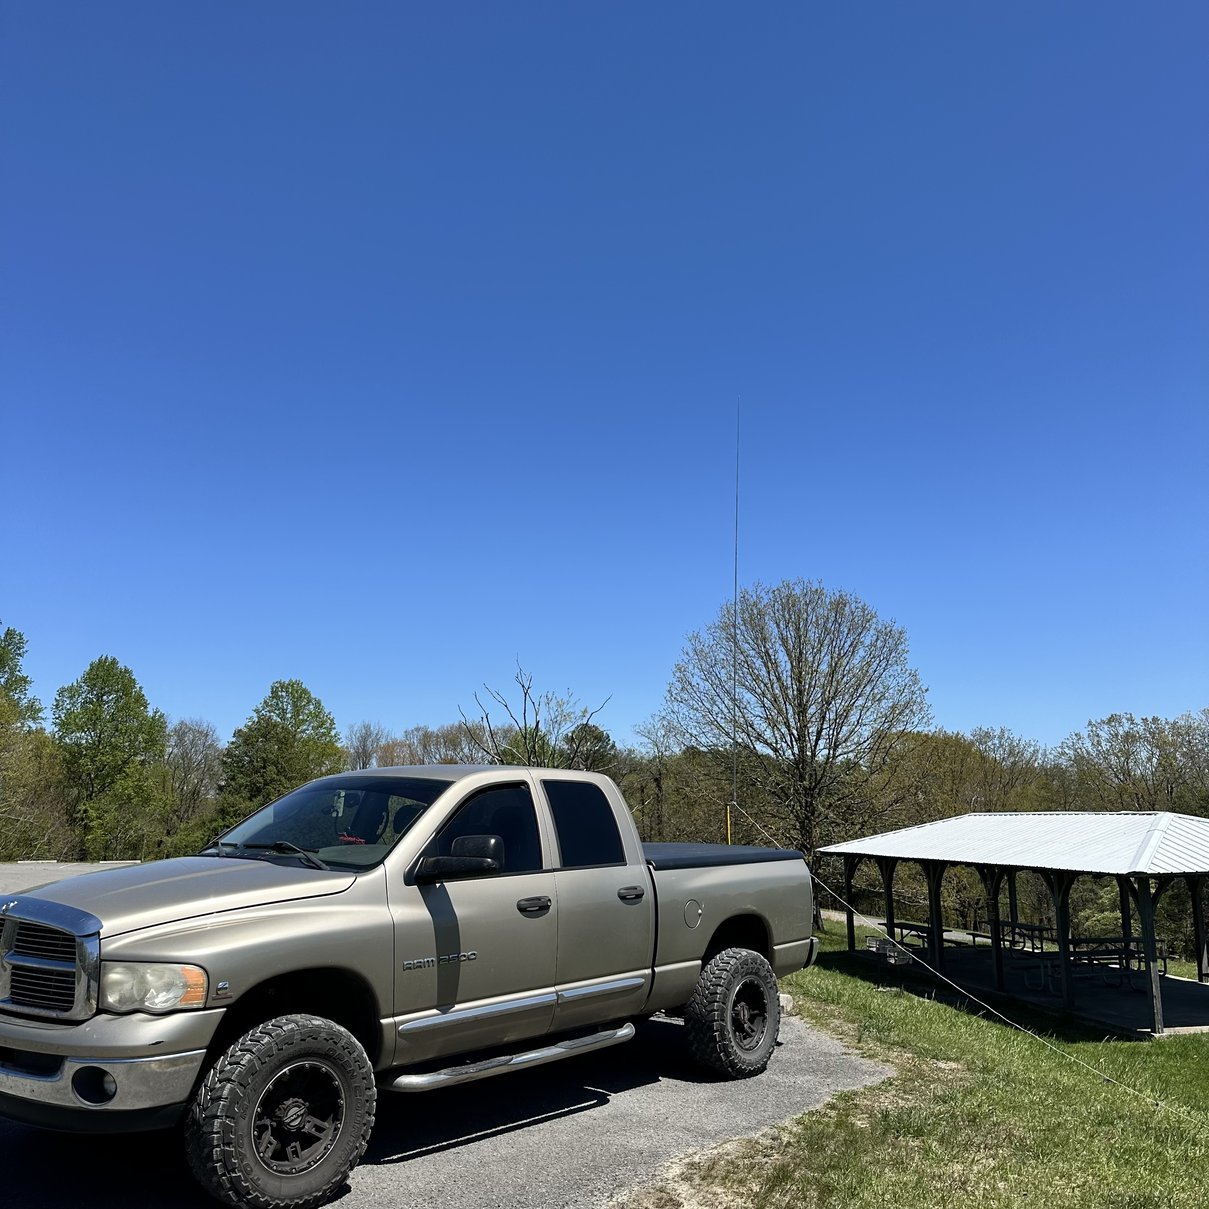
Once I got finished looking at the local flora, I setup my antenna like you see above. That is I used the 213” whip again and put out the two main radials for the higher bands. I tuned on the system for a good SWR on 20 meters then got out the sBitx and powered it up to see what I could hear.
Well, to my amazement, there were stations on the air somehow and I was able to hear them! Somehow in these really terrible band conditions there were a ton of ops still on the air!!! I decided to start on 20 meters to lock in the activation before I ventured to the higher bands as I only had about 2 hours on the clock to activate. I really like to secure the activation before I start experimenting (read that as I like to search for QSOs on the higher bands as you never know what you are going to get) to be honest and if the bands are hopping, I will just stay in one spot till things cool off anyway.
With all this in my head, I said to myself; “Self, you might as well see if you can at least get 10 contacts on 20 meters while using FT8 so you can have the activation in the bag” So I started there. Well, turns out FT8 must have some of special sauce or something as it worked just fine for me. The hit rate was a little lower than usual, but not by a huge margin or anything. I made my needed 10 contacts in about 30 minutes of leisurely operating so now I could “play” and see what I could find out on the fringes of bands openings called 17 and 15 meters!

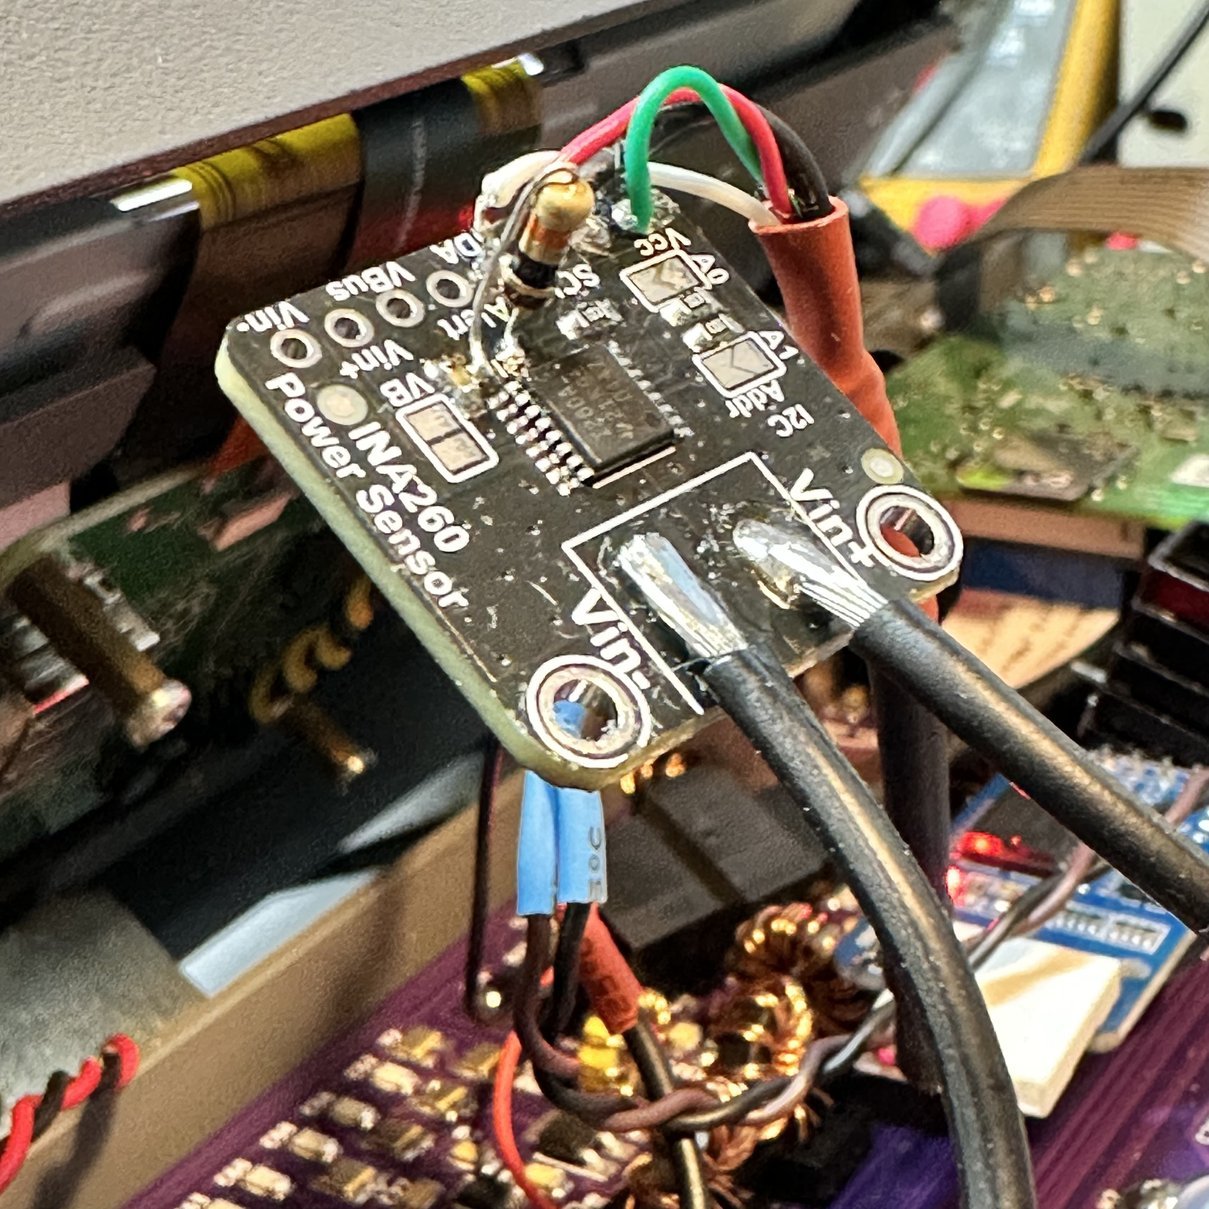
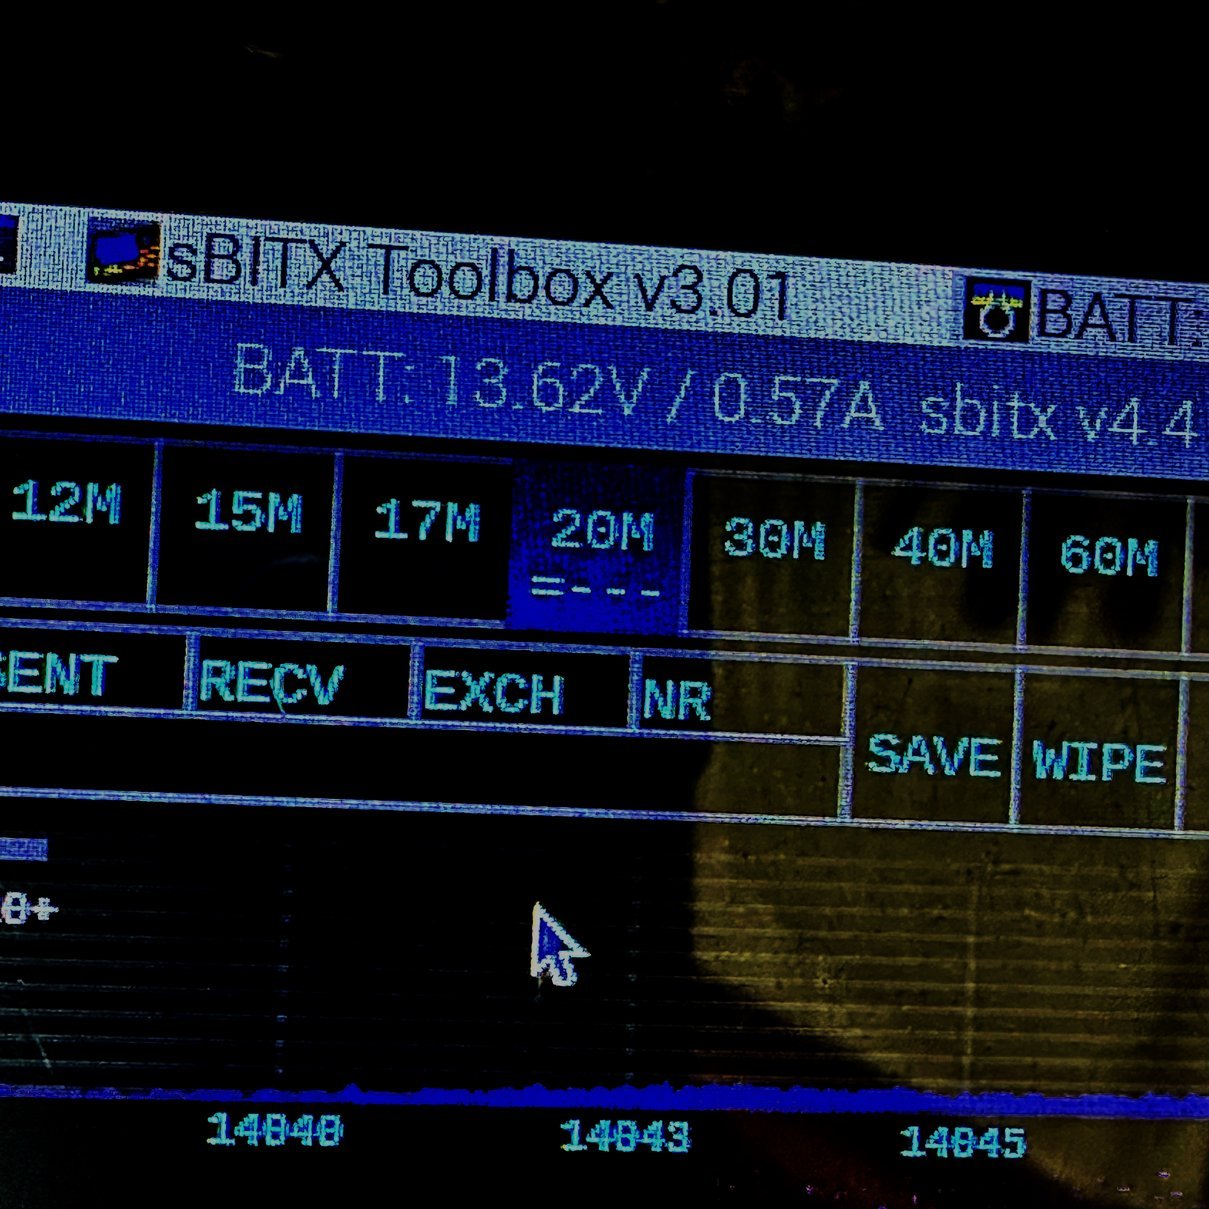
Side Quest#2 : What you see above is a daughter board for an Arduino actually. This is the ADAFRUIT INA260 voltage and current sensing board and JJ’s dev team wrote some code for the version 4.4 sBitx software to use it to see battery voltage and current draw. This is nice as it lets you monitor your battery level without the need for an additional voltmeter. It populates in the top of the display when you connect the board to the radio. It works like a charm too. If you will notice though, mine has an oddball resistor on the board. This 10K ohm resistor you see standing up on the board is not original, as you probably have already guessed. The original was a surface mount resistor, but it had a problem. The makers has inadvertently made a solder bridge between the two contact pads underneath the resistor when they built the board and it made the unit not work properly when connected. Actually the sBitx radio software would not launch with it like this. Apparently applying 3.3VDC (Vcc buss voltage) directly to the clock pin causes the clock to act abnormal or something… I found it by simply checking the system with an ohm meter and the resistance of this resistor was only .42 ohms. That was when I started looking much closer and found the solder under it.
Once I found the solder bridge, I proceeded to de-solder the microscopic surface mount 10 K ohm resistor and … wait for it… then proceeded to watch it vanish into the ether when I dropped it. Yep, immediately lost the resistor upon removal. I also have zero surface mount devices to work with too. All this leaves me with what you see above. A 1/8 watt axial resistor stood up and soldered the the board pads.
I also performed a couple more mods to the radio while I had it taken offline. One was to replace the encoder board with one made by another ham whole re-positioned the connector so that is doesn’t put the PCB in a bind when you tighten the shaft nuts on the encoders. The other was to make the other fan port cover so it will draw air from the side ports only and not let air flow around the fan from the output to the input, thereby increasing efficiency a little…probably not by must, but it also looks more complete too. I also went to the hardware store and got some new case screws for it. If your curious, they are 3mm x .5mm countersunk head screws. Just match the lengths as close as you can and your good to go. I got some that were long and just cut them off to the same length. I also got flat head slot screws as they didn’t have phillips at my hardware store. So once all the mods were done and I had the radio re-synced with the internet on time, I was ready for the activation.
Before leaving the 20 meter band though, I jumped on CW and had some success there too, although it wasn’t that great, I was able to make several contacts even with the band fading in and out at times. Once I had gotten some contacts like this, I decided to move up to 17 meters and see what I could come up with.
17 meters wasn’t terrible either and I made several contacts in both FT8 as well as CW while here. Now mind you, the band did have some QSB (fading), but it was completely usable and was not shut down like the space weather forecast would suggest…just not as easy to use as when the weather is better.
After a great day at the park, with terrible space weather…haha… I packed up the rig and headed back home. I will be honest with you, the new mods to the sBitx are really good and the fact that I forgot to check the weather means that I got to get an activation in when I would have otherwise not even bothered going. So sometimes it seems you might just need to give the bands a shot and see what happens instead of just throwing in the towel because the weather report is bad…
73
ham radioham radio todaysbitxhf signalsspace weatheramateur radiohfcwft8